


After a few smaller projects, Kelly Bertrand summoned up the courage to upcycle drawers and, hot damn it, she actually did it.
Capsule x Resene
I’ve always wanted to be *that* handy person – the one who can whip out a toolkit and fix a broken cupboard door, pop up a shelving unit or have a flash of DIY brilliance with little more than some paint, nails and my own questionable imagination.
And look, while I wouldn’t call myself Bob the Builder just yet, I’m currently looking at this set of drawers I’ve just painted and I’m in shock.
They look good. NO, they look GREAT. They look like they just came out of a furniture catalogue. Me, the DIY idiot, has just pulled off the impossible – upcycling a piece of furniture I actually want to keep in my home.
I’ve done a few smaller projects with Resene in preparation for this, the big one – the one we all want to know how to do because we all have a weird set of Boomer drawers that annoy us with their faux-rimu finish and weird wrought-iron knobs. Mine was my fiancé’s old tallboy that didn’t have anything wrong with it, per say, but it did not go with the minimalist-chic décor of the rest of our bedroom.
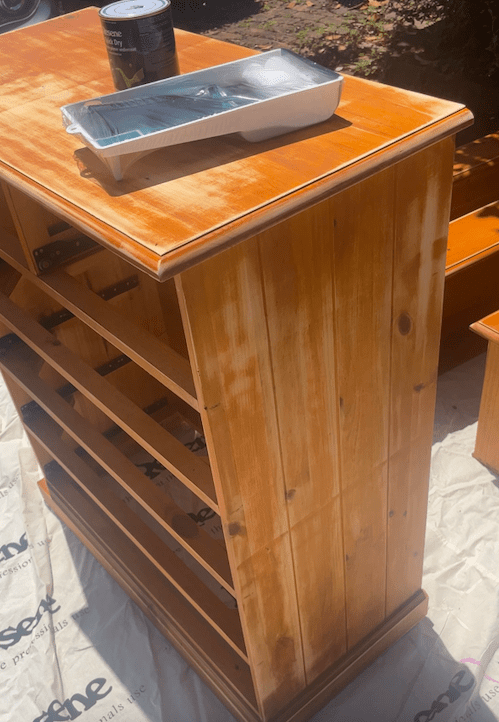
I didn’t want to be wasteful and get rid of a perfectly good chest of drawers, so here we are on my driveway with six drawers spread out unceremoniously in front of me, the old handles binned, a sander at the ready and some primer and paint waiting hopefully nearby.
I understand DIY isn’t supposed to be perfect – it’s literally doing it yourself and for some stupid reason they don’t teach us this stuff at school (can we please have a DIY class added for all those little things we need to know how to do at home?!).
So in the spirit of the thing I decided to throw myself into doing the absolute best job I could on these drawers to prove that one, I can do it (strong confident woman etc) and two, I can actually make things look good with just a little thought and vision (with the help of the Resene ColorShop staff obviously).
Here’s how I, a decorating noob, turned my gross old drawers into something chic – your six-step guide to upcycling drawers:
1 – I went to the Resene ColorShop to pick out my paint shade. I wanted something neutral but warm to go with the calm vibes of our bedroom – our duvet is a linen washed colour, so I wanted something complementary. I went with Resene Okey Dokey – a ‘crusty bread beige, wholesome and delicious’ according to Resene and honestly, it’s the perfect description. I spoke to one of the experts about my plans and they not only told me which sandpaper to get for my drawers – 80 grit was perfect for me – but they also advised me to get a primer. I CANNOT STRESS HOW IMPORTANT THIS IS. You know when you bake and you do a crumb coat of icing to catch all the little bits, so you have an immaculate icing finish? Exactly the same concept. Do not skip primer. I also picked up a roller (KEY) as well as a smaller paintbrush for the little grooves.
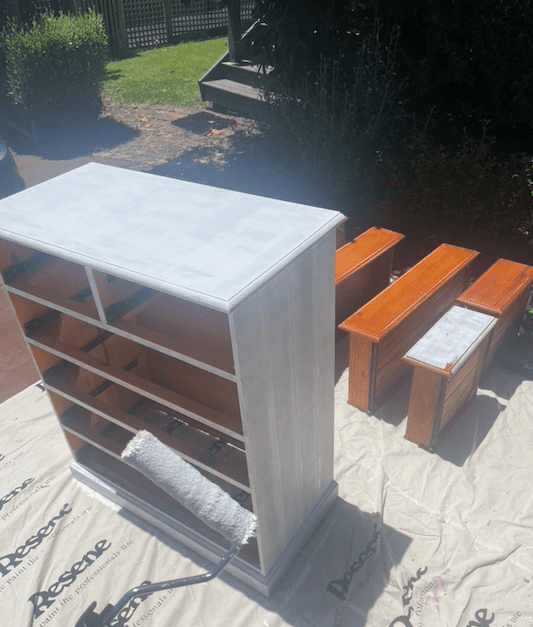
2 – Prep time! Sanding is the first secret to your success, but what I didn’t know is that you don’t need to sand the entire top layer off (whew!). You just need to get any varnish or shiny paint off and create a surface where the new paint will stick, so please don’t think you have to sand the wood right back to raw (I cried with happiness when I realised this). Invest in a detail sander (this one from The Warehouse is good) and you’re away laughing. Just don’t do what I did and do your sanding in a closed-in area (I know, I know, I’m an idiot).
See – you don’t have to strip the wood allll the way back, this is good enough
3 – Once I sanded, I gave every surface a good clean – you don’t want any bits of stuff still on your wood. This was also the stage where I actually broke one of the drawers by dropping it when I was cleaning, so yeah, I’d advise against that – but a bit of construction glue did the job of putting the track back onto the bottom of the drawer.
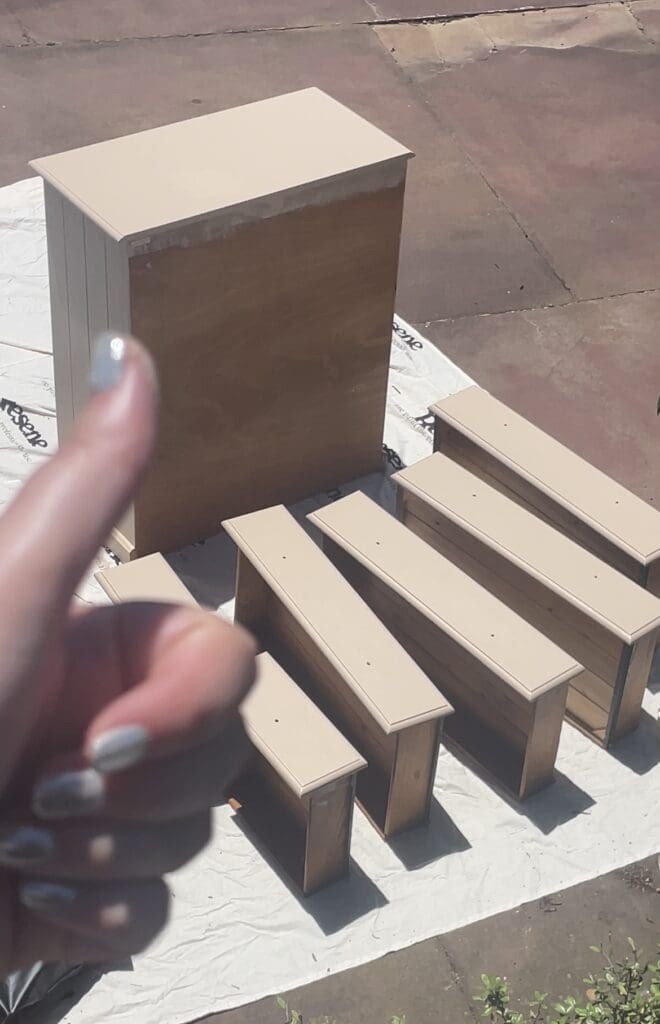
4 – Finally, it’s time to rip out the paint brushes and get to work! I first used the Resene Quick Dry undercoat for my primer and my GOD this was so satisfying. I found the easiest way was to roll it on with the roller, and then fill in the grooves and gaps with a brush. This layer doesn’t have to be perfect, but make sure all of your surfaces are covered. As well as providing you a fab base to paint, it’ll also help your colour stick better and when you’re working with things like drawers that are used every day, you’ll be thankful for this. Also, when they say it’s quick dry, they’re not kidding – an hour later in the sun, the drawers and I were ready for the main event.
Ah, the ‘crumb coat’ – the absolute KEY to getting this drawer business right
5 – Applying the colour is the big leagues and my loooord, the nerves were real. But I focussed on one section at a time with the roller, going over in slow, smooth strokes to get the texture right and honestly, it went on like a dream – way more Estee Lauder Double Wear rather than Maybelline Dream Matte Mousse, thank God. I did two coats, one one day and one the next, to get the perfect level of coverage, and to also touch up the bits I missed on the first day because I’m not a Picasso of drawer painting and that’s FINE.
So smooooooth
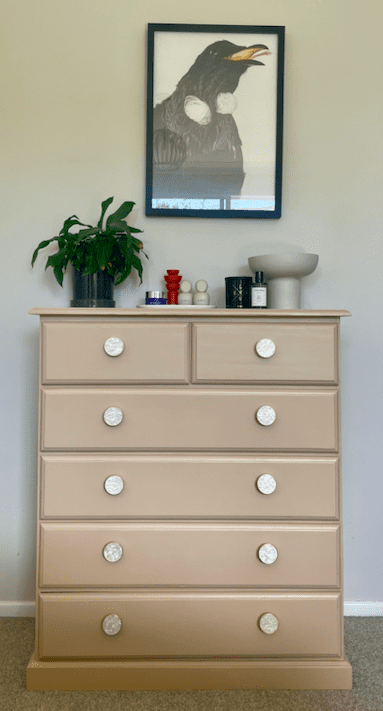
I was almost there and honestly at this point I was shocked because this was looking GOOD – a smooth, perfect finish. No missed bits after the second coat. Only one broken drawer that I was actually able to fix. Now it was just down to the finishing touches: new handles. I found these ones at Kmart, but you can pick new ones up from The Warehouse or Mitre 10. The screws that came with it were too short to go through the existing holes (I didn’t think I was up to filling in the existing holes, drilling new ones and then getting different-sized handles) so I took the too-short ones to Mitre 10 and they helped me find the same thickness, but longer. From there it was easy to screw the new handles in and voila. New drawers!
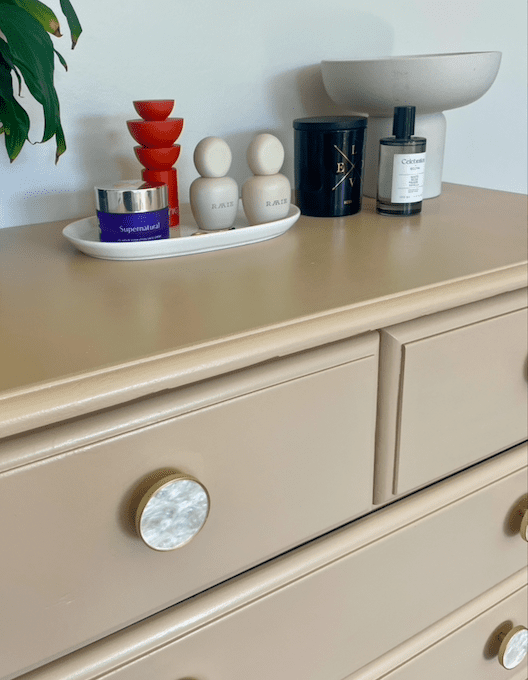
Whole new drawers!
It’s been a few weeks since I painted these bedroom drawers and I’m still aghast. They’re beautiful. They blend into my bedroom. And every time I look at them I get a thrill of accomplishment – from my own skills through to all the money I saved in not buying a new chest of drawers. And the biggest takeaway is that if I can do it, you most definitely can too.
This story has been produced with the support of our partner Resene. Every click, like, share and comment supports Capsule’s work and our commitment to keeping our content free. Thank you for supporting independent, female-owned media! 💛
